Cruzbike S40
Recumbent Bike Review
A full rundown of features, accessories, and riding tips for the Cruzbike S40.
Transporting a Recumbent Bike, Bike Racks for Recumbent Bikes
One question I get a lot is how in the world you're supposed to haul a recumbent
bike around. The long wheelbase, the low seat, the curved frames - none of it looks
like it belongs on a normal bike rack. So I loaded up two very different recumbents,
a mountain bike for comparison, and two of the most common rack styles on the
market to show you what actually works.
The Bikes
I brought out my Cruzbike S40, a front-wheel-drive recumbent with a curved frame and a stationary seat that doesn't slide back and forth. Next to it was my wife's Bacchetta Giro 20, a rear-wheel-drive recumbent with an adjustable seat that cinches forward and back along the frame. For comparison, I also brought her full-suspension mountain bike to show how a standard frame behaves differently on the same racks.The Hanging-Style Rack
I started with the hanging-style rack, the kind that slots into your hitch receiver and lets the bikes dangle from a horizontal bar. This is where the trouble started. The Cruzbike's front wheel is the heaviest part of the bike, and it had a mind of its own - swinging and shifting no matter how I positioned the frame in the cradle. The included straps weren't long enough to really lock it down, so I ended up tying it off with string just to keep it from flopping around.
The Bacchetta sat a little more securely by the frame, but it had the opposite
problem: top-heaviness. With any pressure, the top of the bike wanted to tip over,
and I remembered running into that exact issue when I first bought it years ago. In
a pinch, the hanging rack will get a recumbent down the road, but I wouldn't trust
it for distance or rough roads without adding extra straps or bungees to stabilize
things - which is basically what I ended up doing for the mountain bike's front
wheel too.
The Tray-Style Rack
The tray-style rack was a completely different experience. Instead of hanging the bike from the frame, it supports the wheels from underneath in molded brackets, with a padded arm that clamps down and cinches onto the frame itself. Both the Cruzbike and the Bacchetta sat rock solid - no swinging, no tipping, no fighting with straps that were too short.
The one trick with the tray rack is positioning: I had to slide each bike further
back along the tray than you'd expect so the clamping arm could reach the frame
without getting blocked by the seat. Once I found that sweet spot for each bike,
everything locked into place cleanly, even with a 20-inch front wheel on one bike
and a 26-inch rear on the other sharing the same rack.
Truck Bed Option
If you've got access to a truck bed, that works too. My truck has a short 5-foot bed, and a recumbent lays across it diagonally without much fuss - just be careful it's not resting anywhere that will scratch the frame. I also tried the classic trick of draping the front wheel over the tailgate the way you'd position a mountain bike, but the curve of the recumbent frame just doesn't leave enough clearance for that to work cleanly. It's a mountain-bike move, not a recumbent one.My Recommendation
After running both bikes through both racks, the tray style is the clear winner for recumbents. It supports the wheels and frame in a way that just makes sense for the odd geometry these bikes have, while the hanging style leaves you compensating with extra straps and string no matter how careful you are. Every recumbent is going to have its own quirks, but hopefully seeing these two side by side on both rack styles gives you a head start on figuring out what will work for yours.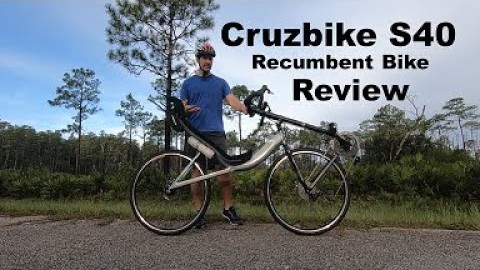

Garage Bike
Storage - The Best Way!
A cheap, simple hook system that gets every bike, recumbents included, up off the garage floor.
A cheap, simple hook system that gets every bike, recumbents included, up off the garage floor.
Recumbent
Bike - Bike Touring Setup (bikepacking)
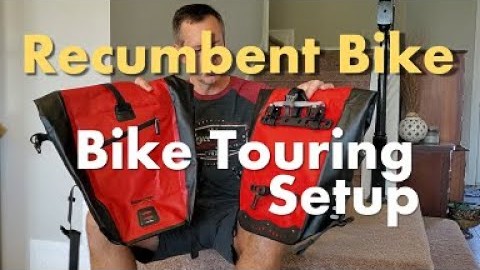
How I rig panniers and rack space on my recumbent for touring.
How I rig panniers and rack space on my recumbent for touring.

Follow Me
@cory_outdoors