First Recumbent
Bike Tour - Recumbent Bikepacking
Putting this touring setup to the test on a 100-mile overnight bikepacking trip.
Recumbent Bike - Bike Touring Setup (bikepacking)
Before I ever loaded up my recumbent for an actual overnight trip, I wanted to walk
through exactly how I rigged it for touring. If you've ever wondered how a recumbent
handles the whole bikepacking thing - where the gear goes, how much fits, and how it
balances out on the bike - this is the rundown.
Panniers on a Rack
I went with a straightforward setup: pannier bags mounted on a rear rack. Each pannier holds 25 liters, so between the two of them I've got a solid 50 liters of cargo space before I even count anything else. It's a simple system, but it's the kind of simple that works.Squeezing Out Extra Capacity
The panniers aren't the whole story. I've also got a bag behind the seat for anything that needs to stay handy, plus room on top of the rack itself to strap down additional gear. Between the three spots, there's enough room to carry camping gear without everything feeling crammed in.The First Real Test
All of this was in preparation for my first actual bike touring trip: 50 miles out to a campground, tent camp overnight, then 50 miles back the next day. It's a manageable distance for a first attempt at loaded touring, but enough to actually prove out whether the setup works once it's carrying real camping gear instead of just sitting in the driveway.Looking Ahead
This trip was really a stepping stone. Somewhere down the road I'd like to take on a much bigger goal - bikepacking all the way across the state of Florida. Getting the touring setup dialed in on a shorter overnight run first just makes sense before committing to something that ambitious.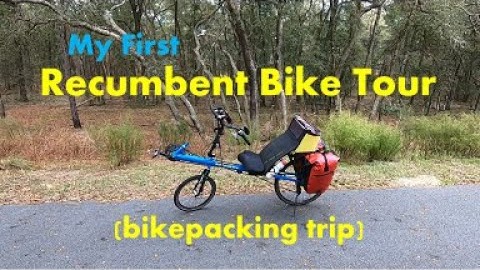
A Long
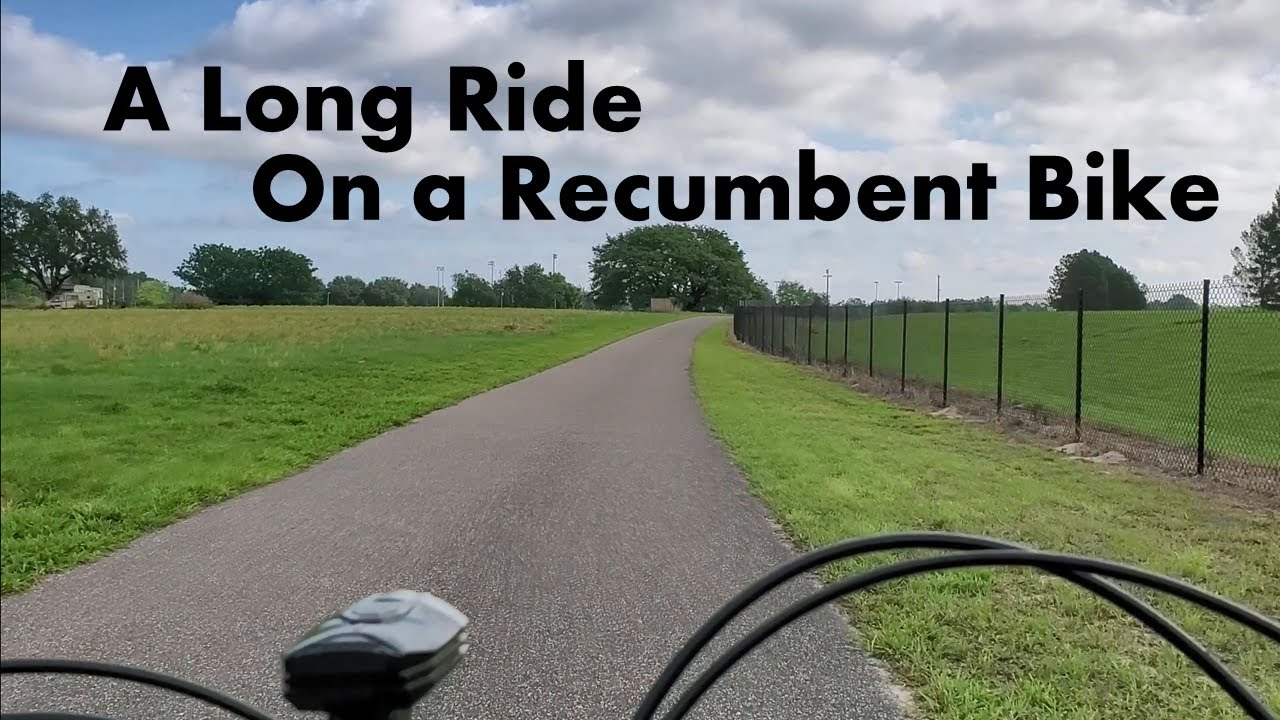
Recumbent Bike Ride - Plus a Tortoise
Nutrition and hydration lessons from a 72-mile recumbent ride.
Nutrition and hydration lessons from a 72-mile recumbent ride.
Recumbent
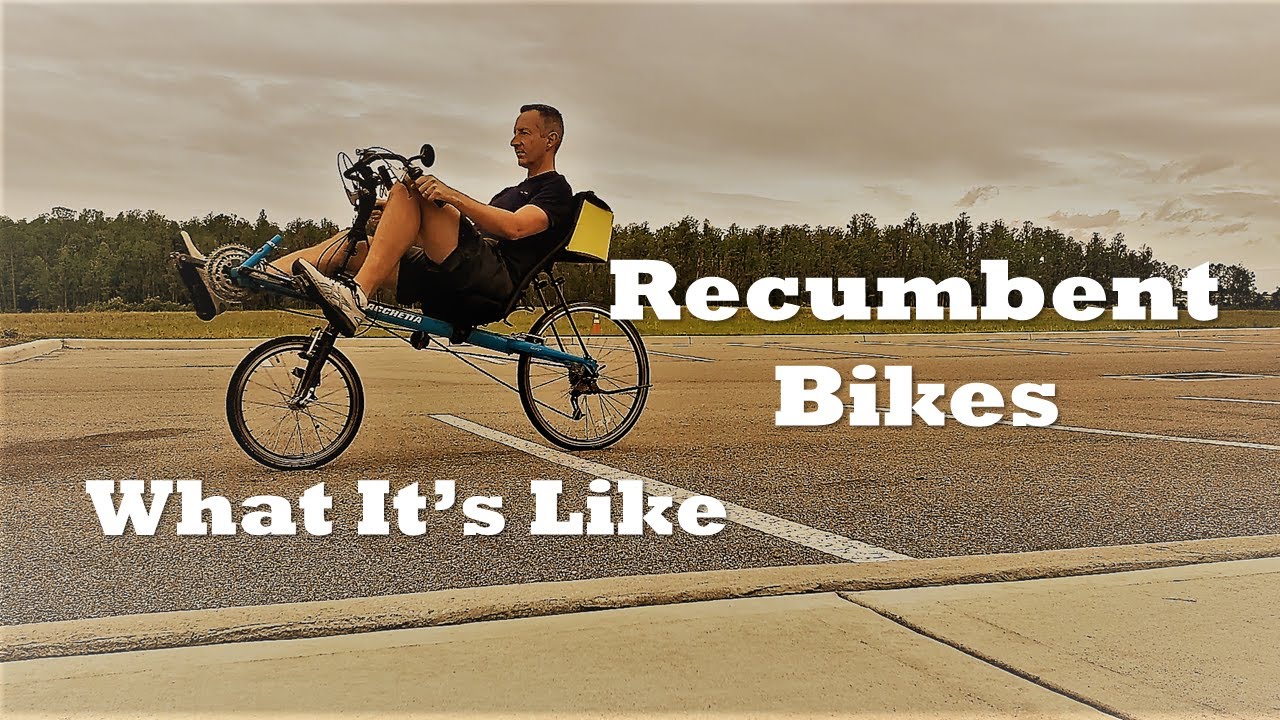
Bikes - What It's Like
A beginner's look at riding a two-wheeled recumbent bike for the first time.
A beginner's look at riding a two-wheeled recumbent bike for the first time.

Follow Me
@cory_outdoors